Smoking a blunt is my favorite method of consuming cannabis. It’s a little more advanced than rolling a joint. So if you haven’t mastered that yet then take a look at How to Roll a Perfect Live Cured Flower Joint. If you’re still with us, then here are a few steps on how to roll a perfect Live Cured Flower blunt:
Materials:
1. Cigarillo or broad leaf wrap
2. Cannabis
3. Grinder
4. Crutch (optional)
5. Lighter or matches
Step 1 – Grind your Cannabis:
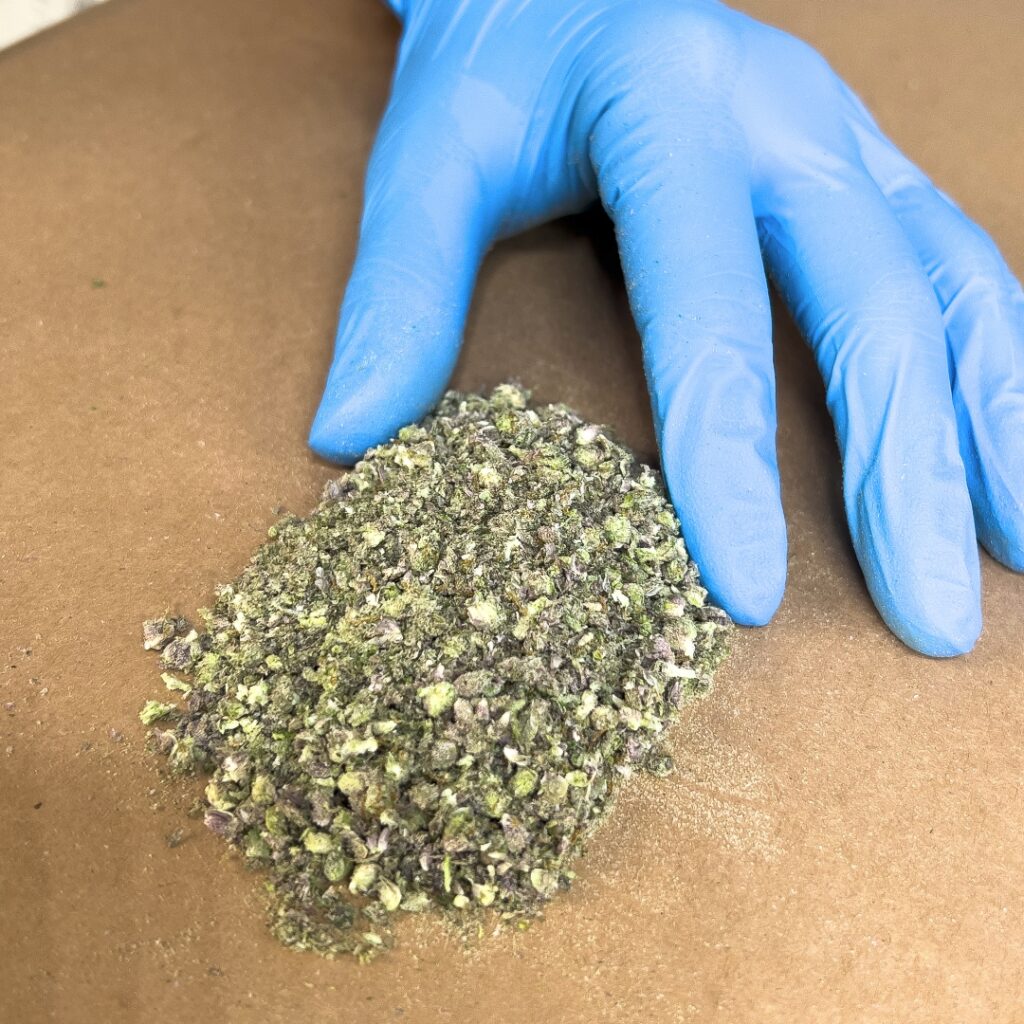
Remove the cannabis flower from the stem. Then, use a grinder or your hands and break up your cannabis into small pieces.
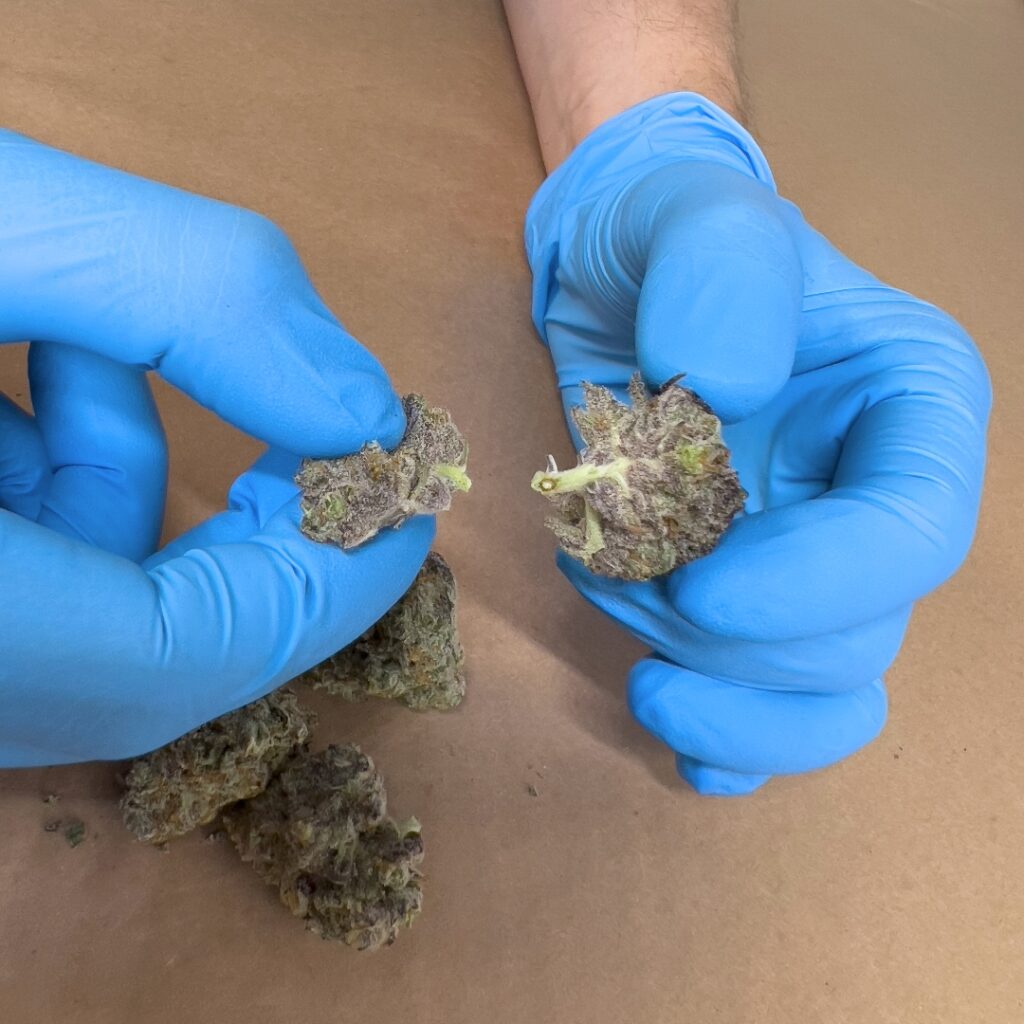
Remember that our Live Cured Flower breaks down fluffier so don’t over grind.
Step 2 – Prepare the Blunt Wrap:
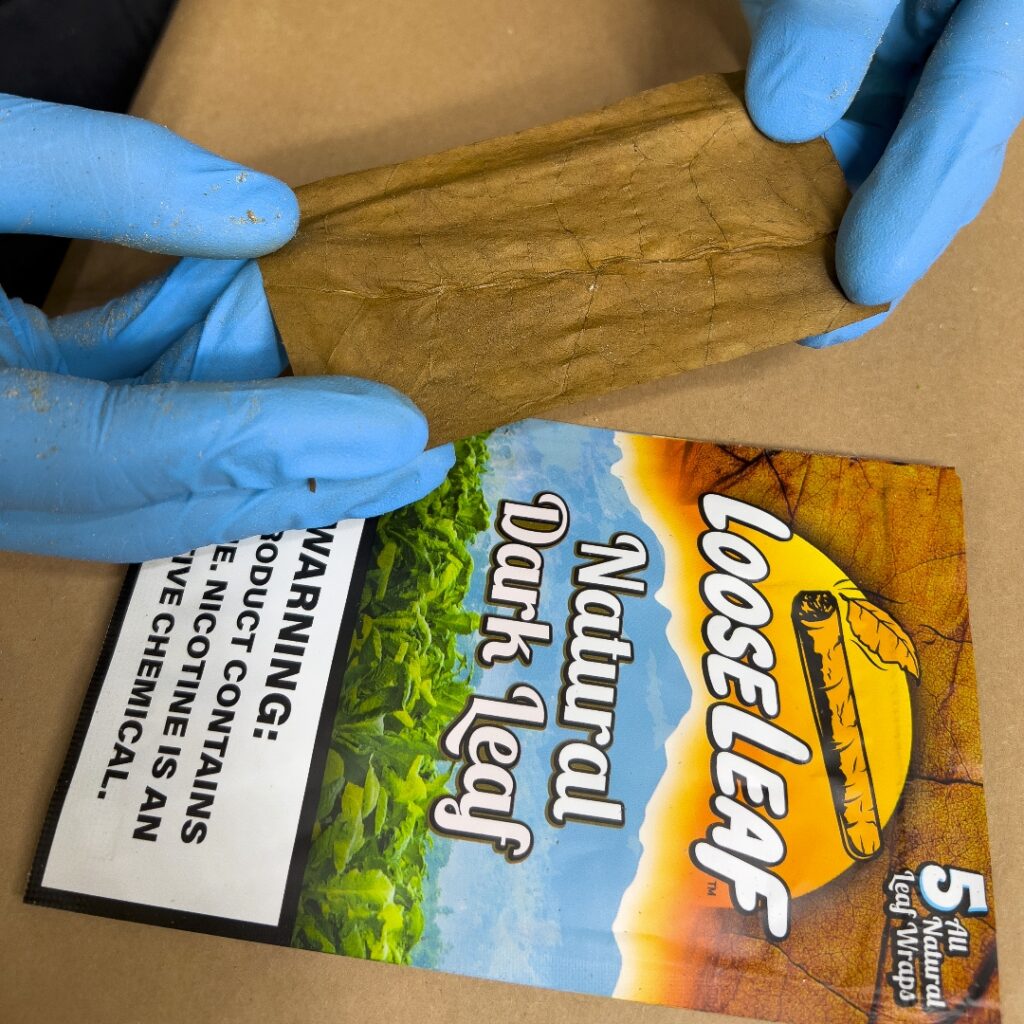
Today we’ll be using Natural Dark Leaf from the company LooseLeaf. They’re a great pre-cut broad leaf wrap from a company based in Southern California. Each wrap is about 2″x4″ in size.
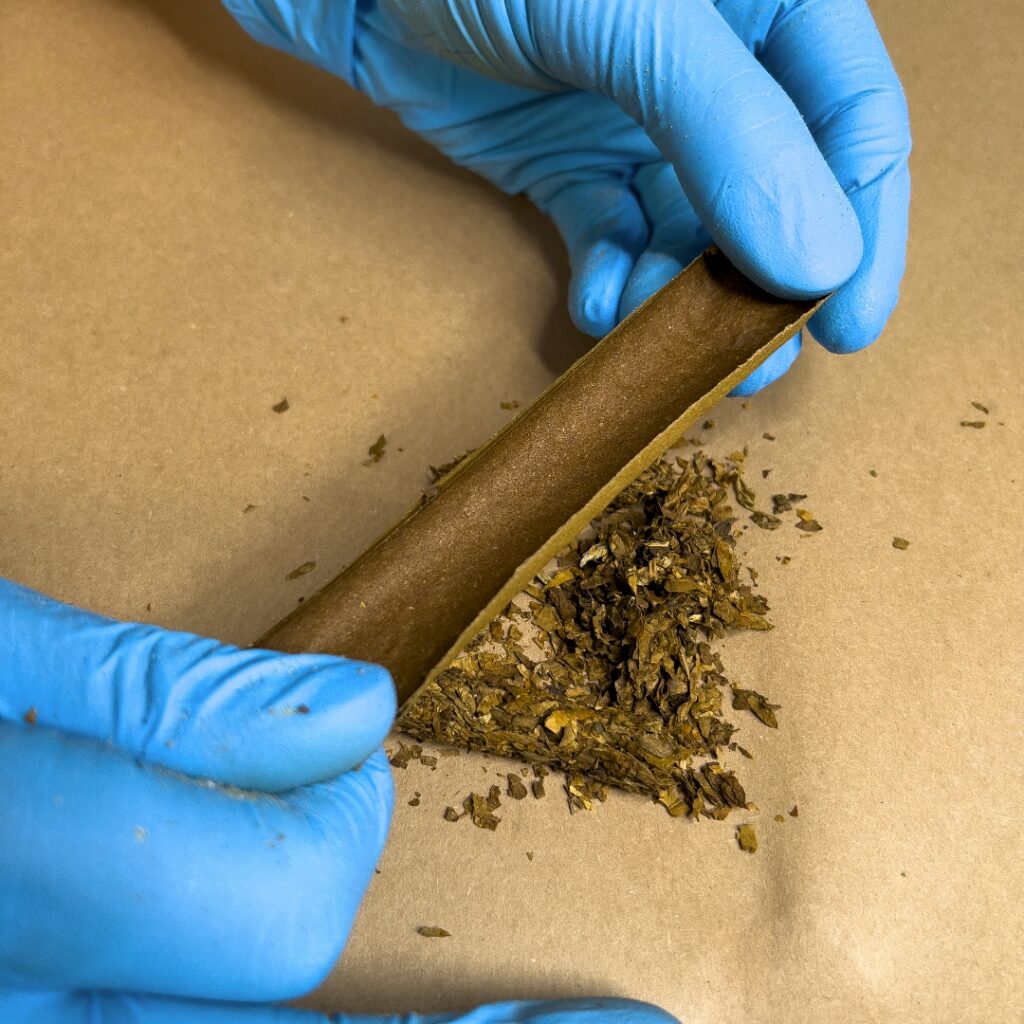
If using a cigarillo, prepare it by splitting it open with a sharp knife or razor. Remove any tobacco or other contents from inside. Keep in mind that if you choose to roll with a cigarillo, your blunt will hold a smaller amount of cannabis. This step isn’t necessary if you’ve chosen to roll with a broad leaf wrap.
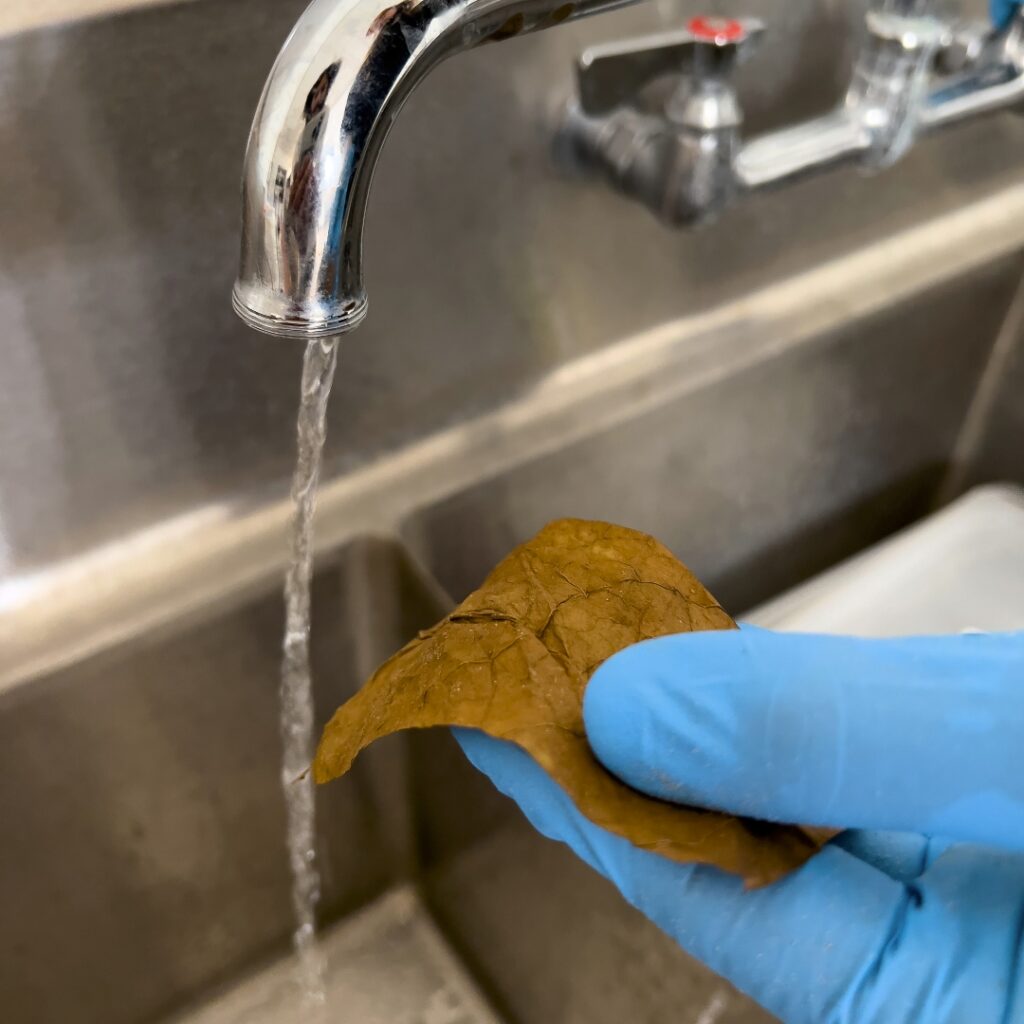
If the leaf is dry, moisten the wrap by licking it or running it under a small amount of water. This will make it more pliable and easier to work with. After it’s wet, use a dry paper towel to dab away the excess moisture.
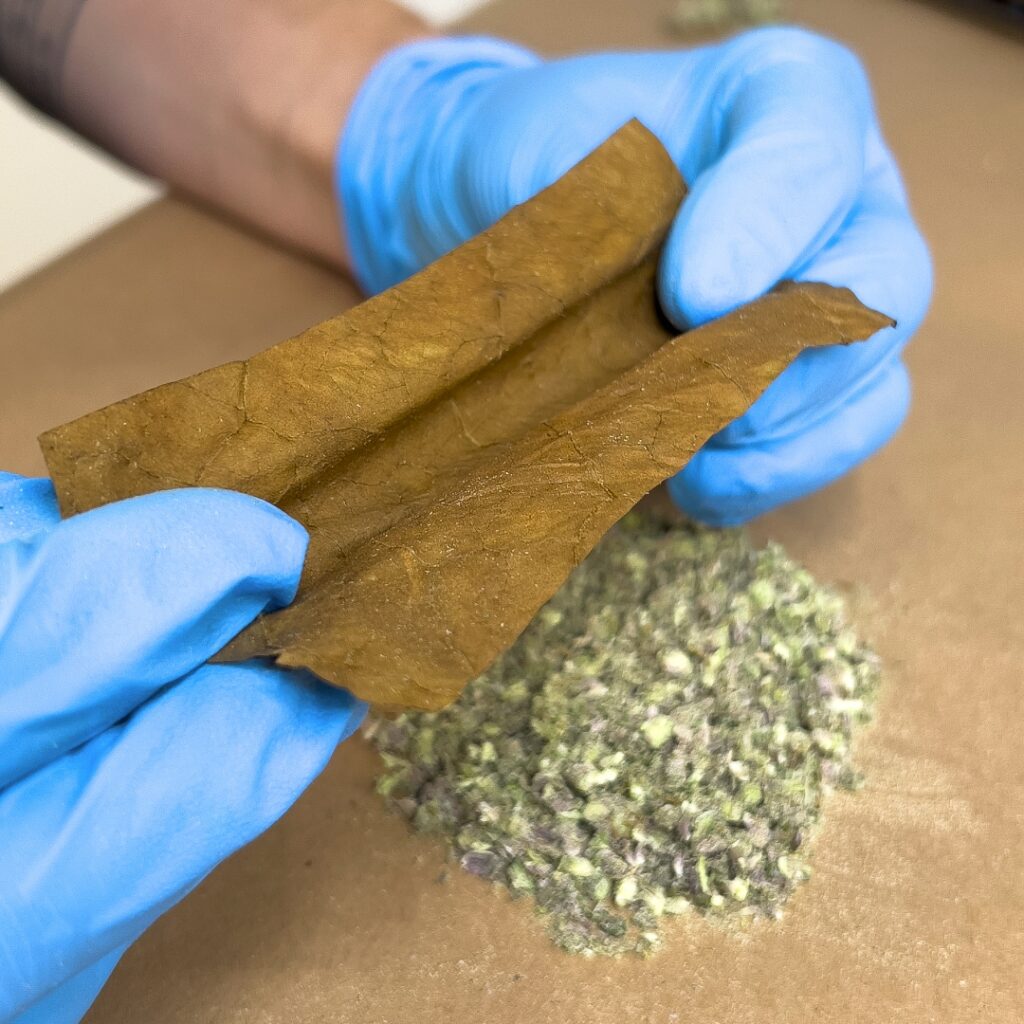
Hold the wrap cradled between your thumbs and fingers to create a channel for the cannabis to rest.
Step 3 – Add a Filter or Crutch (Optional):
Next, we’ll add a filter or crutch to one end of the blunt. Today we’re using RAW Natural Unrefined Cone Tips.
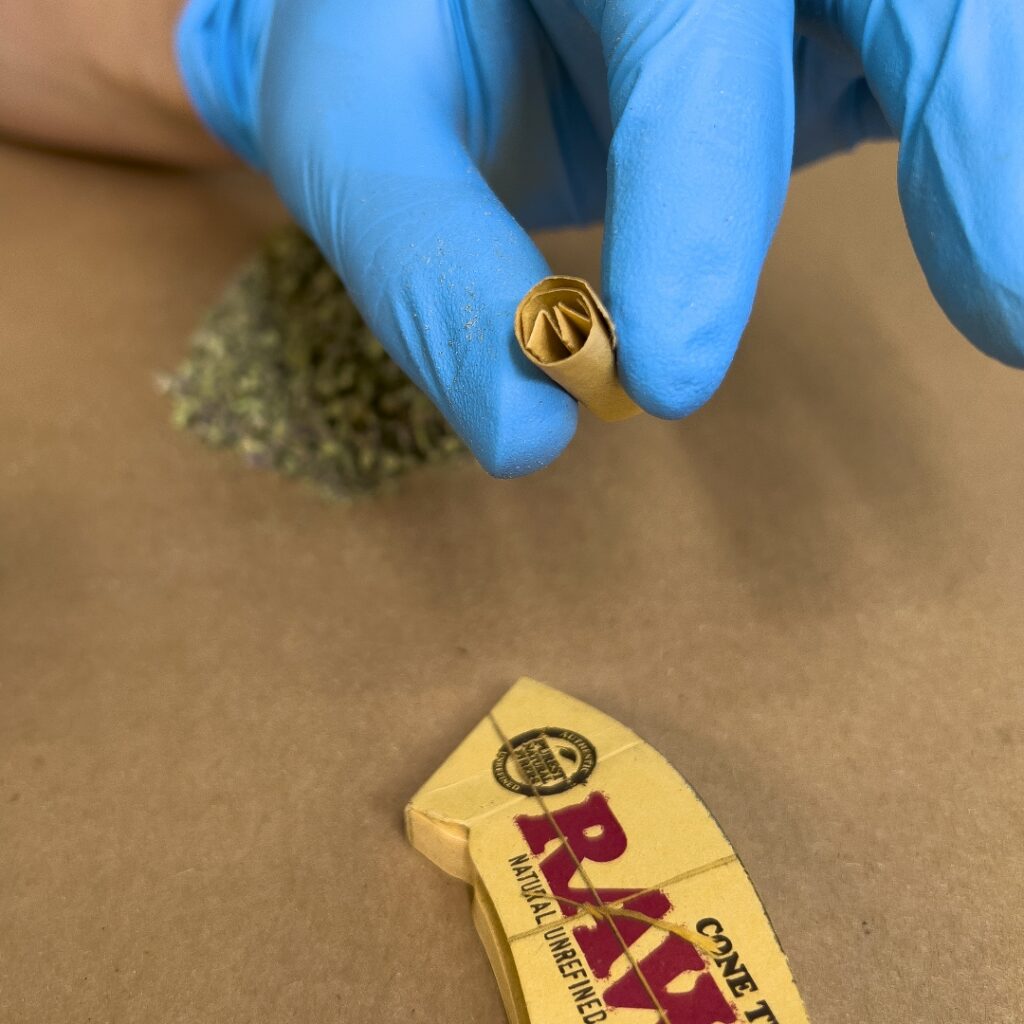
A filter or crutch is a small piece of rolled-up material (often made from thicker paper like the sleeve on our eighths or a business card). It acts as a mouthpiece and can help improve airflow and prevent bits of cannabis from being inhaled.
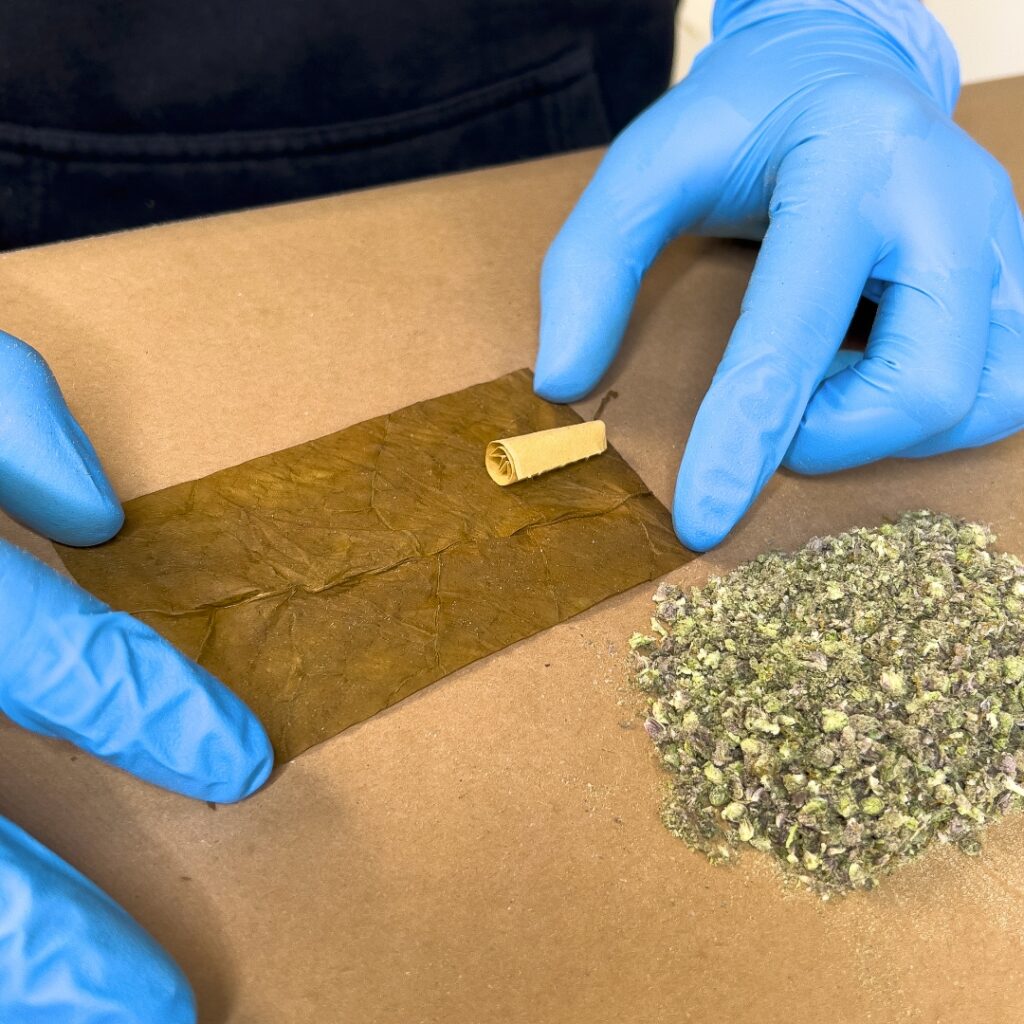
Place the filter or crutch at one end of the blunt, leaving a bit of the wrap sticking out.
Step 4 – Add the Cannabis:
Place a good pinch of ground cannabis in the center of the wrap, spreading it along the length of the blunt. In this demonstration I’m rolling about 3.5 grams of cannabis.
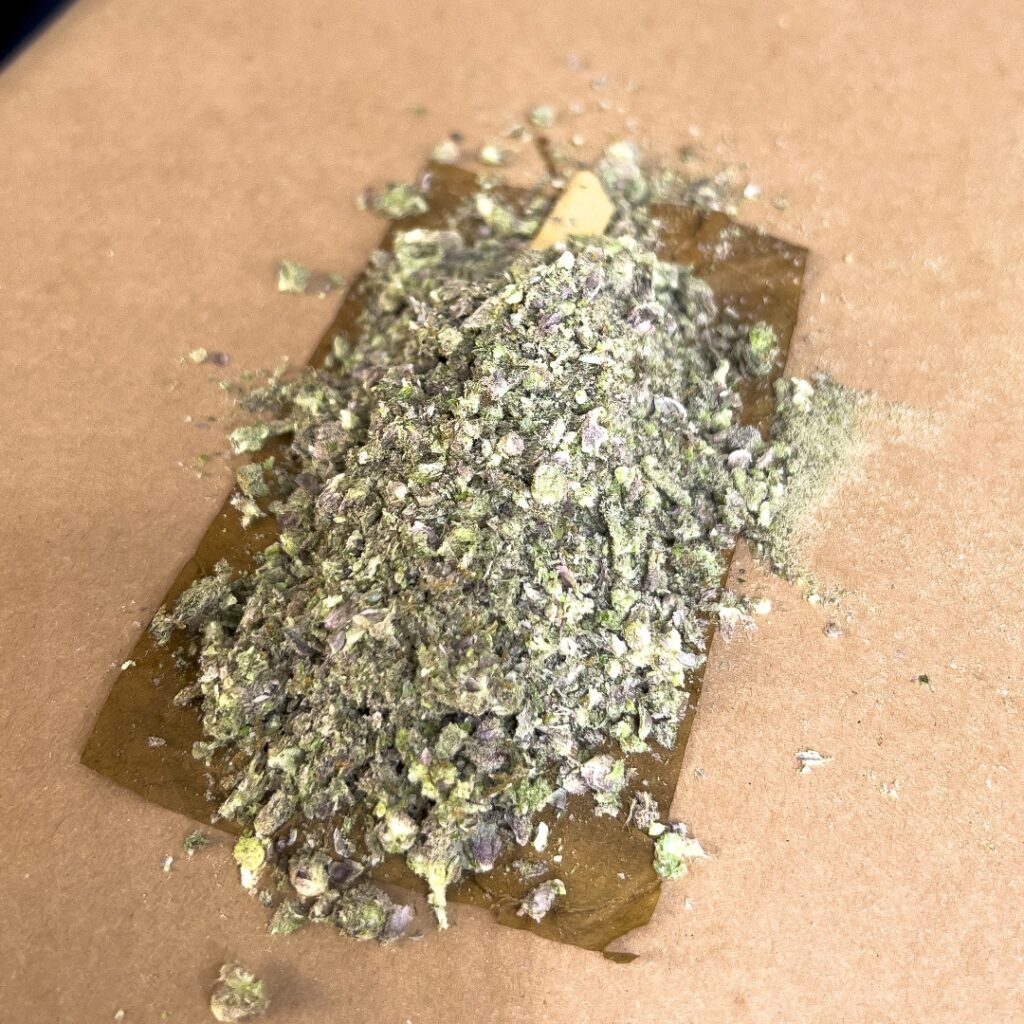
The amount of cannabis you use depends on how big you want your blunt to be and how strong you want it to be. I tend to roll my blunts to the size of a babies leg.
Step 5 – Roll the Blunt:
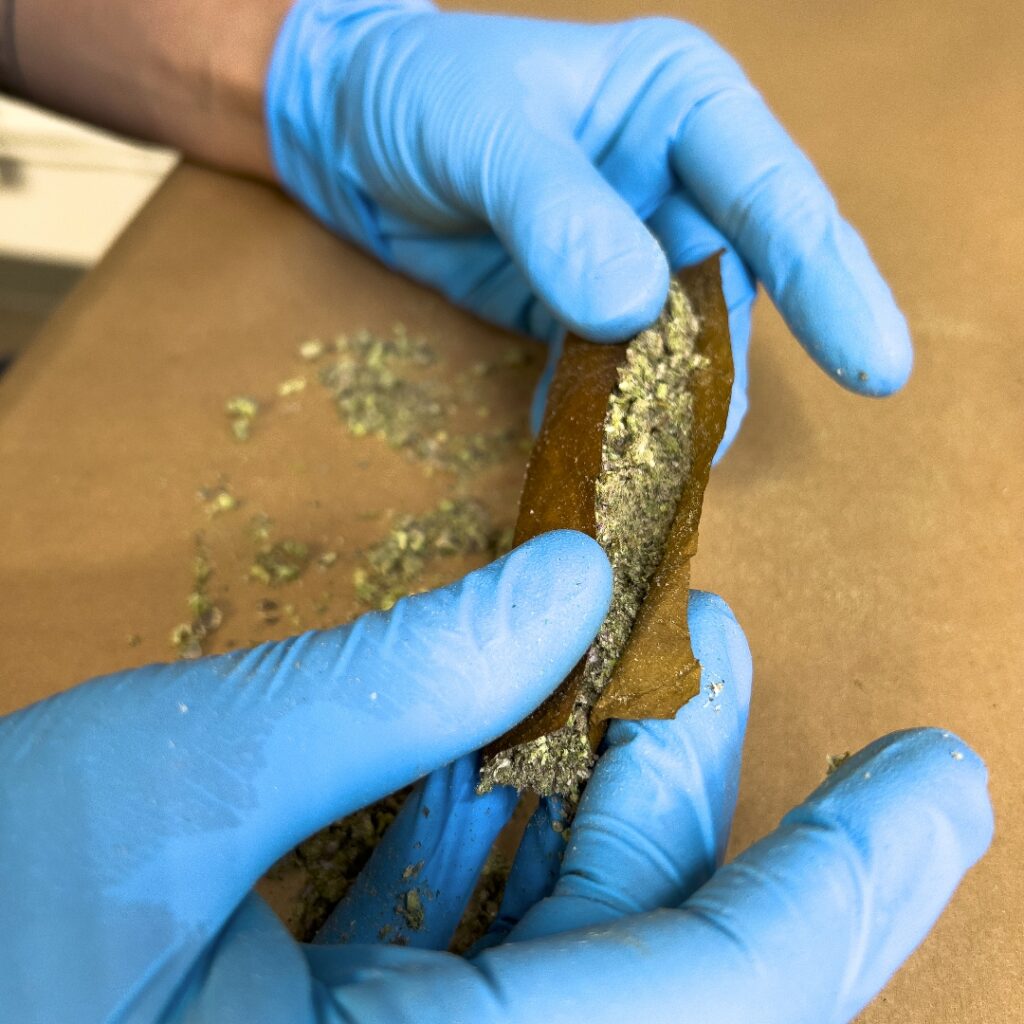
Using your thumbs and index fingers, gently roll the cannabis back and forth, shaping it into a cylinder within the wrap. Tuck the end of the wrap closest to you around the cannabis and use your fingers to compress and shape it into a cylinder.
Step 6 – Seal the Blunt:
Lick or moisten the remaining edge of the wrap and carefully roll it around the cannabis, tucking and sealing as you go. Use your fingers to gently shape and pack the blunt, making sure it is evenly filled and tightly rolled.
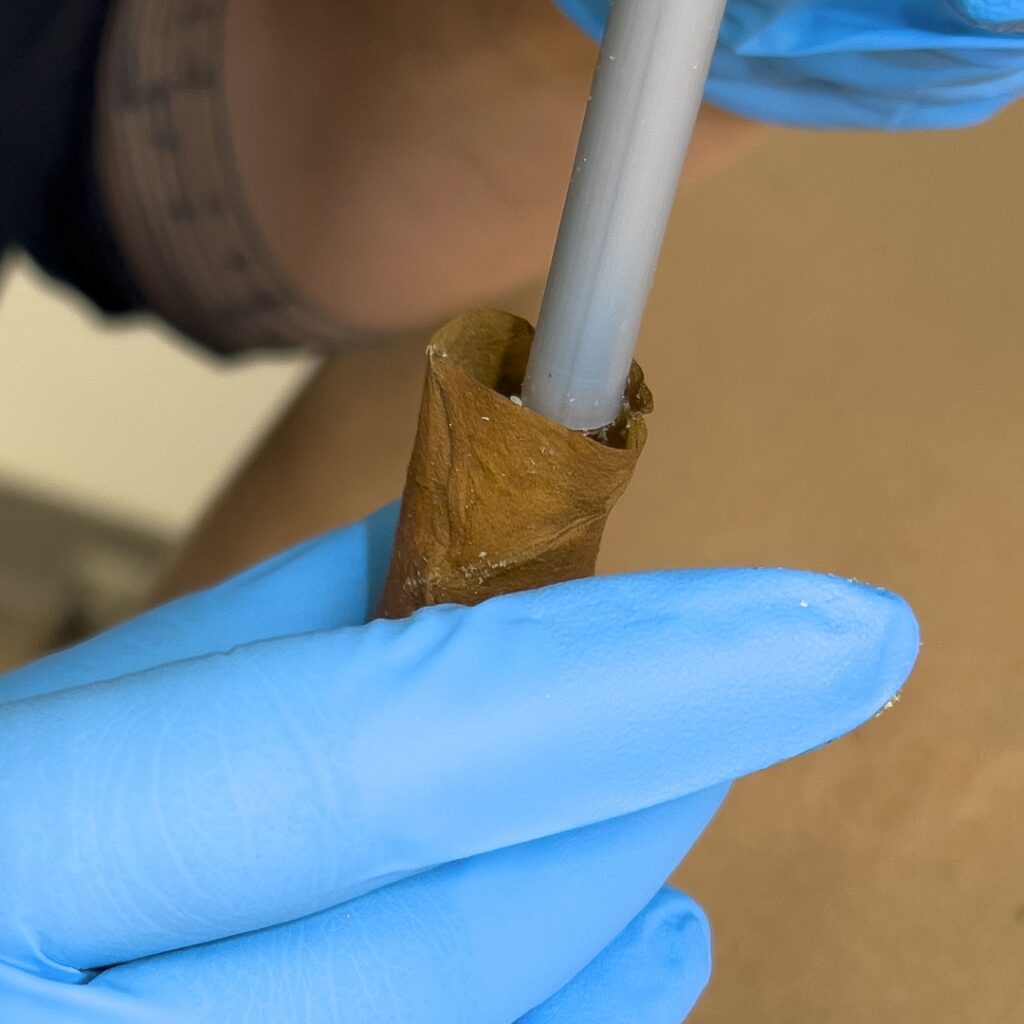
Sometimes you’ll have to use a small, thin object such as a pen or pencil to pack the cannabis down into the blunt, creating a firm and even consistency. Be careful because the blunt will be more delicate than a joint when packing
Step 7 – Dry Pull:
Put your mouth to the blunt and inhale without lighting it. This will give you an idea of the air flow and give you a chance to correct it if there are any issues. Plus, you’ll get to taste the flower before lighting it to get your palette ready.
Step 8 – Light and Enjoy:
Using a lighter or matches, ignite the end of the blunt until you have a solid ember at the end called a cherry. Inhale from the other end while gently drawing on the blunt. Remember to take slow, steady puffs to avoid letting the blunt go out, pass it, and don’t drool on it – Your friends will thank you.
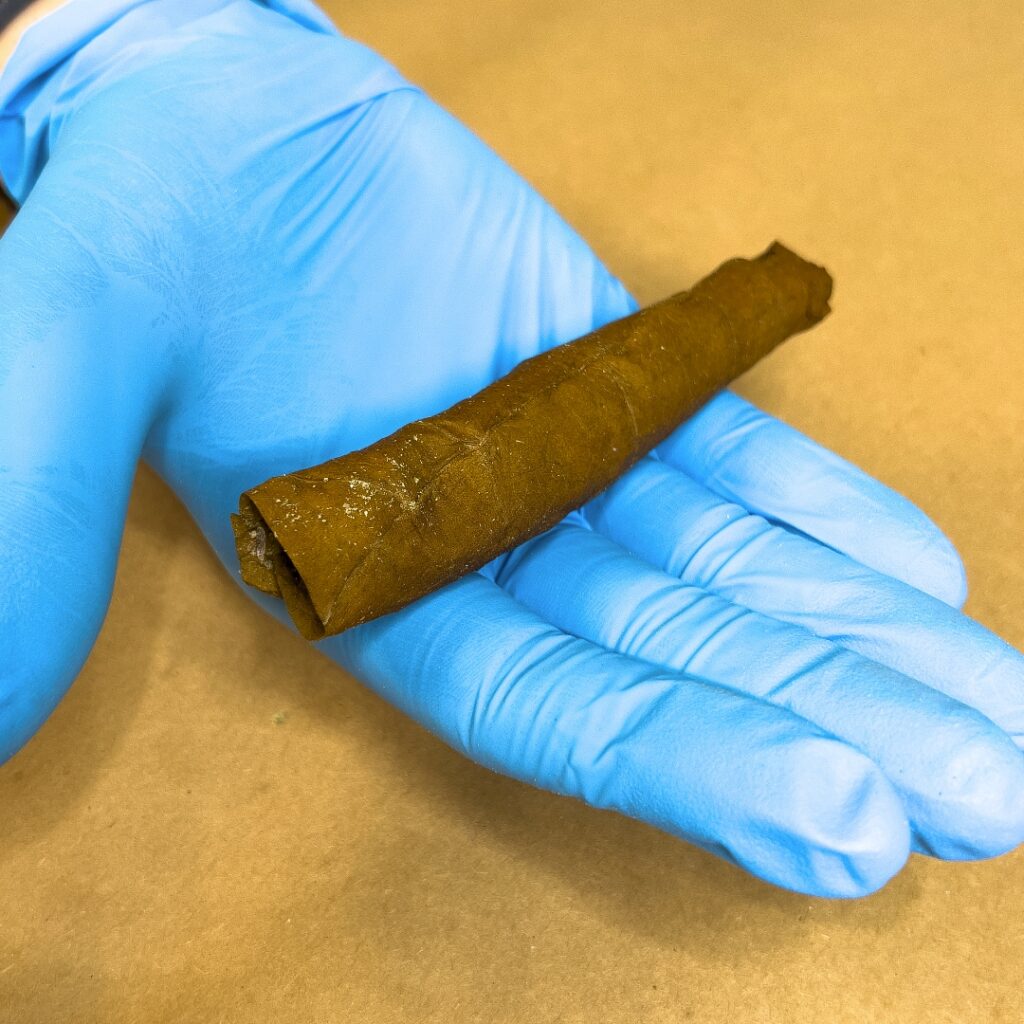
Rolling a blunt is a bit harder than rolling a joint so don’t get discouraged at first. It will take some trial and error before you lock down your perfect technique. A perfect blunt doesn’t have to look beautiful as long as it smokes haha!
Stay blunted and stay safe!


